Tag Archives: digital art

Digital art for Beginners – unleash your creativity

Digital Art for Beginners

Hello Artists!

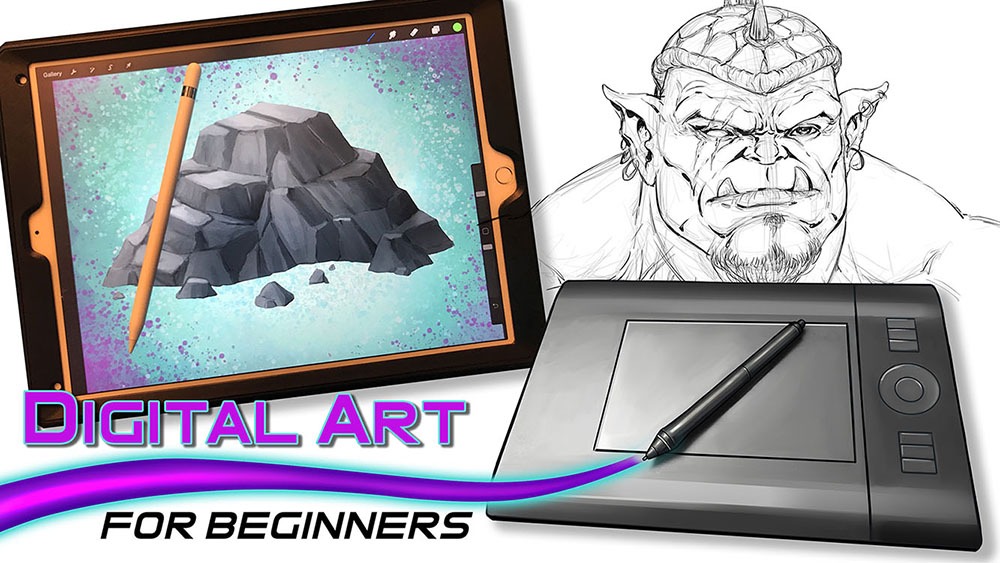
I have just released my course, “Digital Art for Beginners.” This is something I have been working on for some time. If you follow my work then you already know most of everything I create these days is done with digital tools and programs. I have been working with digital software for over 20 years and drawing tablets for over a decade. So I felt it was time to share everything that I know about Digital Art production.

This course is designed to help you break into the world of Digital Art by giving you the information that I had to search for or learn by trial and error. It is my goal to save you time and alleviate any frustration you might incur while making the jump.

Learning to create with Digital Art Tools can seem frustrating at first but you have to realize that there are so many neat ways to edit your work that you can still be productive while developing your skills. The main thing is to keep an open mind and keep creating!

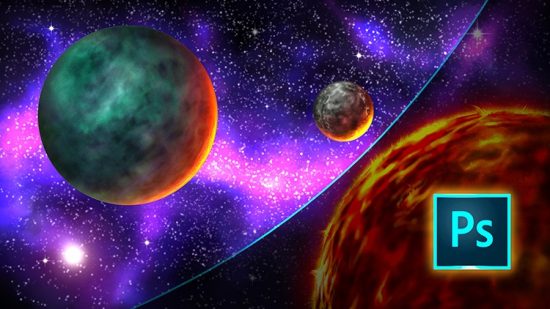
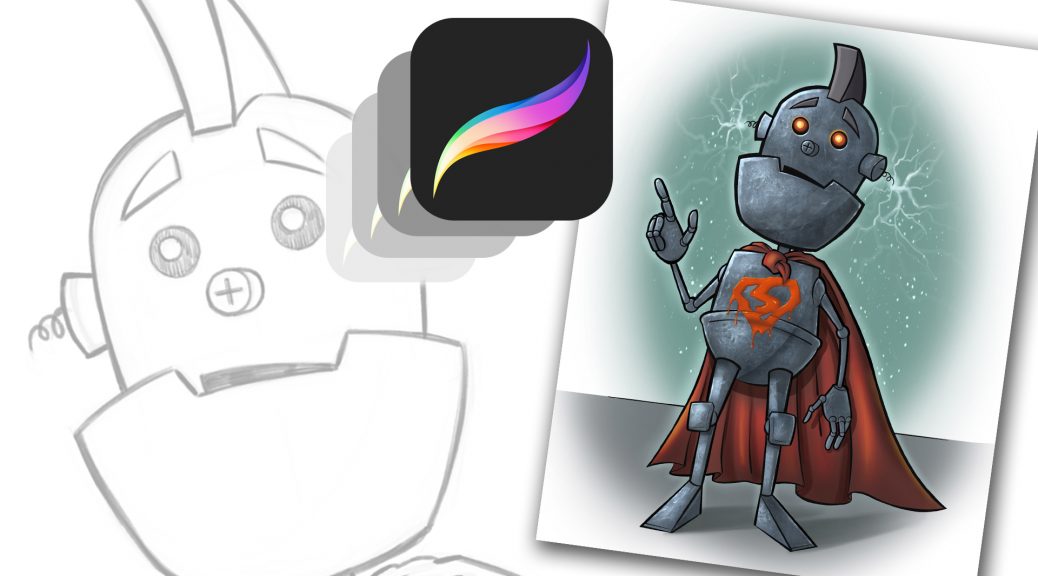
In this course you will learn about some of my favorite art programs that I have used for many years to create my style of art. We will cover Sketchbook Pro, Clip Studio Paint, the Procreate app, Adobe Photoshop, and Krita. You will learn about the tools that each of them have adopted from one another over the years as well as the ones that make them unique.

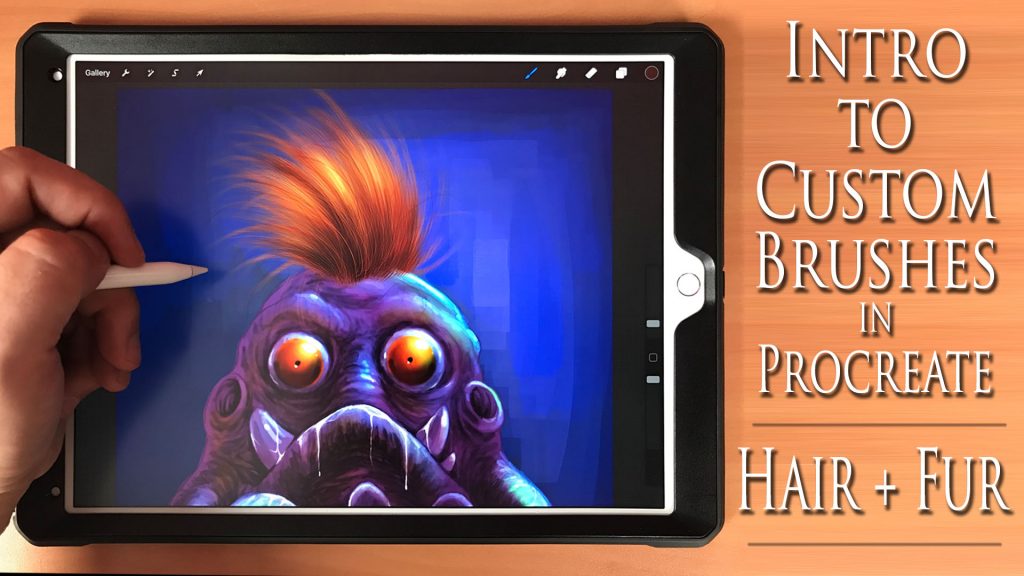
In the next section of this course we will cover 3 types of drawing devices. The Wacom Intuos 4 Medium Tablet, the Wacom Cintiq 22HD, and the iPad Pro 12.9 / Apple Pencil. This will give you a good range of what is available to you as a Digital Artist.

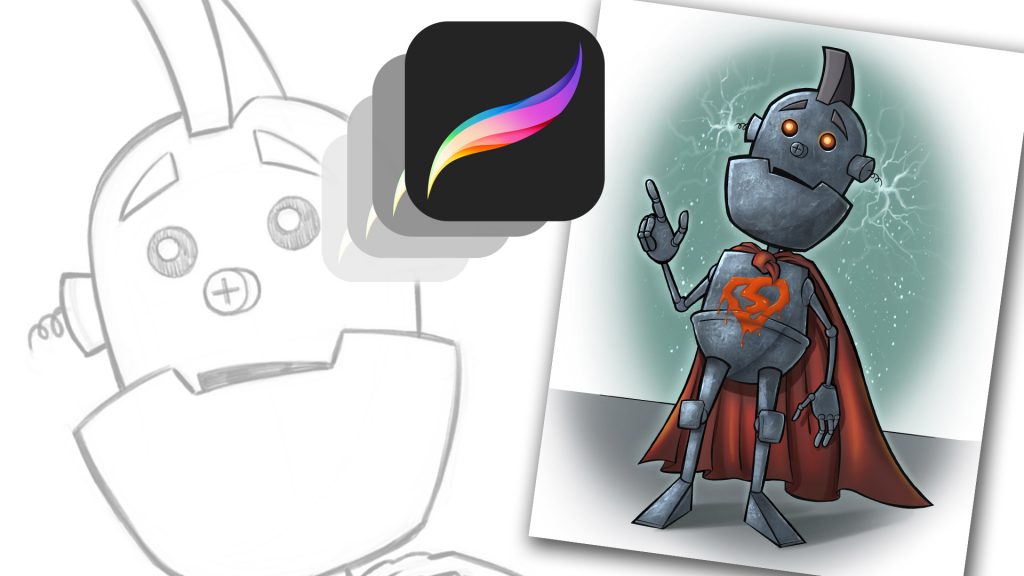
Then we will jump into using these tools to produce 2 different art projects. This will allow you to see how I use these to create my Digital Art on a daily basis. I will explain my Drawing and Painting process and how I use the tools to make edits. The main focus here is to get you to feel more comfortable with these tools. Many artists experience a feeling of disconnect and that is entirely natural when trying something new. You will overcome it with patience and practice. I assure you and I am speaking from experience!

Watch the Introduction Video to this Course here –

I am here to help you. If you take this course and have any questions please send me an email through my website form. I will help you as quickly as possible. If you have any ideas for new lessons that will make this a better learning experience for everyone, then I will be more than happy to add them to this course!

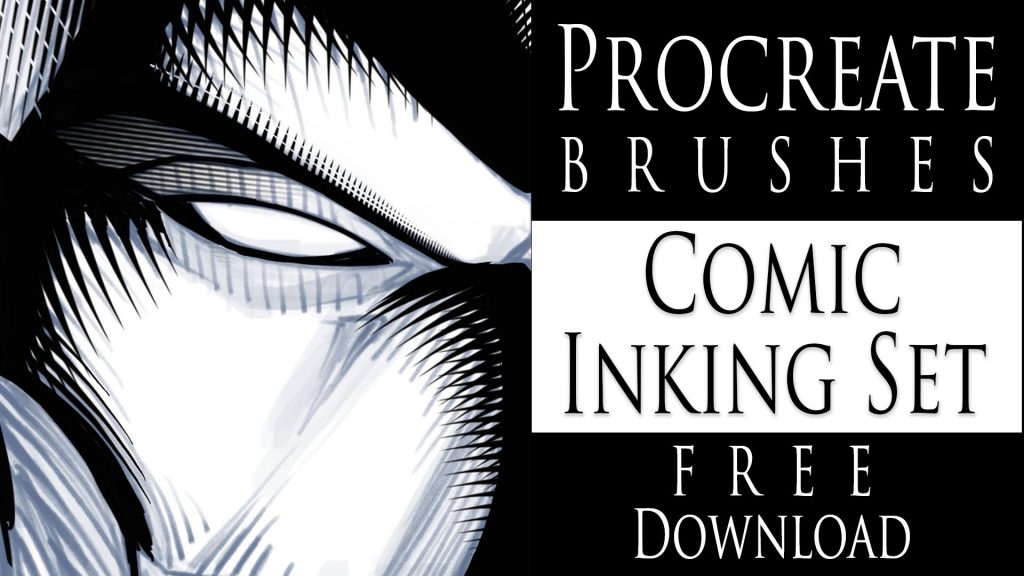
This course is currently 4 Hours long + Art Files and Brushes

Get Lifetime assess to this course here on my Gumroad – https://gum.co/eAnSS

or Watch it here on Skillshare –

https://skl.sh/2Ik1PnV

Thank you for considering my content and good luck with your Digital Art! 🙂

-Robert

Custom Brushes by RAM – Clip Studio Paint / Manga Studio 5

Are you a fan of custom brushes for Clip Studio Paint? I know I am! They save a ton of time and can really open up some new ideas when utilizing them. If nothing else, they are just plain fun to use!

I have been creating brushes for years now. I started in Photoshop about 15 years ago but quickly feel in love with Clip Studio Paint’s brush engine. It is the absolute best on the market so far. Not only does it have a supperior use and control of the “Ribbon Effect” it also supports full color brushes. As well as controling the two primary colors with the Foreground and Background swatches. Super effective in my opinion!

I have two primary sets for Clip Studio Paint / Manga Studio 5. They are the “RAM – Manga Studio 5 / Clip Studio Paint – Inking Set” and “Clip Studio Paint – Manga Studio 5 – Digital Painting Brush Pack.” I started by creating Inking Brushes for Comics. Then I realized that I could create all sorts of time saving effects. Brick patters, cross-hatching, hair and fur, power effects, and the list goes on.

The new brushes that I just added are focused on repetitive patterns or “Ribbon Effects”. Things like Chain Links but with a comic style line art applied to them. Or my latest brush… Spider-Webs! I draw Spider-man a lot so with will save me years of webbing! 🙂

Spider-Web Brush by RAM

Here is an image of Spawn that I drew in the Procreate app and then added my custom Chains Brush in Clip Studio Paint.

Spawn Comic Art by Robert A. Marzullo ( Character is Property of Todd McFarlane. )

So hopefully you can see how these brushes can be very useful as well as huge time savers. This is just how I use them so feel free to experient with your own creative illustrations!

Get the Inking Set here – https://gum.co/gGIye

or

Get the Painting Set here – https://gum.co/TQPbf

Both include the new brushes and more Comic Art Style brushes will be added as soon as I create them. Feel free to let me know which brushes you need and I would love to see the art you create with them!

Thanks for stopping by and best of luck with your art journey!

Robert A. Marzullo Ram Studios Comics

Character Design – The Power of Silouettes​

Hello Fellow Artists!

I wanted to share some of my findings on using silhouettes for your art. In this case I will be sharing the effect it has on character design but really this can apply to pretty much anything. It is wildly popular for concept art but can even work for other styles of art such as comics and cartooning .

So what is a silhouette? Why does it matter? A silhouette is a two-dimensional representation of the outline of an object, as a cutout or configurational drawing, uniformly filled in with black, especially a black-paper, a miniature cutout of the outlines of a person’s face in profile. Simply put, the silhouette is the outline of anything we might be looking at.

It matters because we are extremely good at spotting things based upon their silhouette. Don’t believe me? Have you ever seen Batman’s silhouette and thought it was Winnie the Pooh? Probably not likely. Also, a strong easy to read silhouette translates into a strong character design. This is one of the many reasons character designers use the power of silhouettes at the beginning of their creative process. It also allows for a fast workflow to developing ideas.

Character Design Silhouettes by Robert A. Marzullo

Try creating some basic character designs with this method. Don’t worry yourself too much about any idea of perfection. Allow yourself to make mistakes and have fun with the process. Remember, this is an exploration of ideas. Keep the process loose and energetic. Think of things like the posture and backstory of the character and less about the details. With a silhouette, it is pretty easy to keep adding details after the initial gesture is in place anyways. As you get more comfortable with the process you will start to envision more ideas right from the start.

Another great way to use this to spark your creativity is to start with one idea and then make each additional character design vastly different. This allows you to express a ton of creativity in a short amount of time. Just like doing gestures before figure drawing, this is a great way to start your character design process. These silhouettes can be saved and reused as well. You can even experiment by overlapping them to create new inventive ideas.

Elven Witch - Character Design - by Robert A. Marzullo
Elven Witch – Character Design – by Robert A. Marzullo

Then you can take these silhouettes and begin to refine them with values. Values are basically what you see when you convert a color image to a grayscale image. By painting in the values to your character design you can focus on the depth and form first. Unless you are a pretty confident painter, painting with colors can be distracting. It really depends upon what your strenghts are as an artist. The reason value painting is so popular in character design is that it allows the client to see the progression of the work and make changes. Whenever working with a client you want to try to create your work in even passes. This way you don’t spend all day detailing one area of your character concept only to have the client ask for an update. It will be much easier for them to read what is going on if you in smaller passes over the character design.

Warrior Character Design - Stages of the Work by Robert A. Marzullo
Warrior Character Design – Stages of the Work by Robert A. Marzullo

After you have worked through the entire design process you can begin to apply color. When using Clip Studio Paint or Photoshop, you can apply color with a new layer. Play with the “Blending Modes” ( PS ) or the “Combine Modes” ( CSP ) set to Color, Overlay, etc. You can apply color on just one layer but for more variety in the work, you can use a few color layers together. I will be adding information to this post so be sure to check back as I create more studies.

You can even use this same shape thought process to create dynamic comic book poses. Here is a video of me explaining that process on my Youtube channel – https://youtu.be/6MfVCC7m5R8

Thank you for viewing and let me know if you have any questions or suggestions for new content!

Good luck with your art!

-Robert

Want to learn more? Check out my Gumroad for Video Lessons and Custom Brushes – http://www.gumroad.com/robertmarzullo

or Check out my ART Classes here on Skillshare – https://www.skillshare.com/r/user/ramstudioscomics

Introduction to Digital Painting in Photoshop – Beginner’s Guide

Introduction to Digital Painting in Photoshop - Beginner's Guide
Introduction to Digital Painting in Photoshop – Beginner’s Guide

Introduction to Digital Painting in Photoshop – Beginner’s Guide

Hello Digital Artists!

I have just released a new course, “Introduction to Digital Painting in Photoshop!”  Very excited to be bringing you this course and I hope you learn a ton of great techniques to add to your skill set.  Currently, this course sits at 33 Lectures and a Runtime of 3hrs 55 Minutes.  ( You also get the Art Files + over 50 Custom Brushes to work with. )

In this course, you will learn all the basic tools and how I use them to create professional looking digital art in Photoshop.  This course is designed to get you up and running with digital painting in Photoshop quickly and effectively.  Without all the confusion and complex jargon.  Photoshop is a massive program with tons of options and can quickly become a hindrance if it isn’t explained properly.  I teach this course is an easy to understand way!

After covering all the basic tools and shortcut commands we jump into a scene creation.  You will learn to illustrate this Space Scene from scratch.  You will learn how to create this scene with a very simple approach.  This way you can focus on being able to paint without learning all the complexities that Photoshop has to offer.  This course is designed for the beginner to the intermediate digital artist in mind!

As with any of my courses, if you feel this content needs an additional lecture or two I am happy to help.  Just message me and I will improve the course as soon as possible.  Also, feel free to leave your honest review of this course so others will know what to expect!

( Lifetime access + 30 Day Money Back Guarantee ) 

Thank you for everything you do and more lessons are on the way very soon!

Robert A. Marzullo

Ram Studios Comics

Intro to Custom Brushes in Procreate – Hair and Fur!

Intro to Procreate Brushes Tutorial

Intro to Custom Brushes in Procreate – Hair and Fur!

Hello Everyone!

I added a new class to my Skillshare called, “Intro to Custom Brushes in Procreate – Hair and Fur”. 

In this class, you learn how to create a custom hair and fur brush step by step. You also learn how to import/export brushes to share with your community.

After creating the brush we demonstrate it by giving this little monster some hair.  I show you how to adjust the brush for various effects as it is being used.

You get the art file and brush document to practice with.  I will be creating more custom brush classes using Procreate so please let me know what you would like to see in the future!  The next class will be on texture brushes.

Thanks for stopping by and you can get the class here on Skillshare – https://skl.sh/2MuEAqU
( You get 2 months free for signing up with this link! )

— NOTE — Remember if you already have my Udemy course on “Procreate Like a Pro”, this has been added and simply need to re-visit the course to view the new lessons.

If you prefer getting the entire course on Udemy,  please use this coupon code – https://www.udemy.com/procreate-like-a-pro-create-awesome-digital-art-on-an-ipad/?couponCode=RAMSTDIOSCOMICS101

Good luck with your studies and I am here if you have any questions!

-Rob

Procreate Brushes – Comic Inking Set – Free Download

Procreate Brushes - Comic Style Shading - Free Download
Procreate Brushes – Comic Style Shading – Free Download

Hello Everyone!

I am excited to share some new brushes with you today! I have been playing around with some comic style inking brushes for the app Procreate.  I was able to come up with a few cross-hatching brushes that I think you might find helpful within your work.

I’ve noticed that a lot of artists struggle to get good effects with their cross-hatching. Almost to the point where they decide not to do much of it. This is where these brushes can help. They are designed to make that part much easier to accomplish. Keep in mind this shouldn’t deter you from drawing out your own, only to aid you in getting better at the process. These brushes look much better if they are correctly mixed with hand drawn shading.  They also help to save time in certain areas of the work. Deadlines have to be met at any cost, right!

I have been using Procreate for a few years now and I really enjoy the brush creation process in this app. It is easy to do and the brush settings are extremely versatile. I will be making more of these brushes to add to this pack. There are all sorts of neat things to create for comics. Background textures, brick patterns, various brush tips, and so on.

NEW PROCREATE BRUSHES ADDED TO THIS SET!

UPDATED! Just to let you know I added 16 NEW custom Procreate brushes to this set on 5-11-2021.  They included some more cross hatching brushes, background texture effects, and a couple of quick clip art brushes.  I have more ideas to create so be sure to check back often!

If you want these brushes head over to my Gumroad and get them here – https://gum.co/JYdba  

This is a Pay What You Want item! So if you want them for FREE just type 0 during checkout and they are yours. You will also get any updates to this pack for free as well.

__________________________________________________________________

If you want to learn How to Create Digital Art with Procreate please check out my full course here. This is my discount code – View here

Procreate Like a Pro: Create Awesome Digital Art on an iPad

In this course, I explain all the tools and features within Procreate. You also learn my process on using this app to create my digital art everyday. I now create 90% of all my illustration work with my iPad Pro and Procreate!

Thanks for stopping by and let me know if you have any questions for me. Feel free to email me through my contact form.

Yours Truly,

-Rob

Drawing Comic Style Art in Procreate – On the iPad Pro

Venom Comic Art by RAM

Hello Everyone!

I hope all is well on your side of this crazy rock. I am having fun drawing some new fan art and I wanted to share a few things I have learned while doing so.  For those of you that don’t know my process let me explain.  I have been drawing comic art for over 20 years now and I used to work on good old bristol board but a few years back I decided to start working digitally. ( I was a messy inker! :>)  I know people are rolling their eyes right now.  Real artists use traditional tools, right?  I get it, you’re in love with the feeling of real paper.  I don’t blame you, I draw on paper as much as I can too.  Something about it just feels…..you know…natural!  I switched because I am a big fan of technology and I like to be on the forefront  of it all.  Plus, I really just wanted to ink digitally but then later realized the pencils were possible as well.  By creating all of it digitally I was saving a lot of time.  I no longer had to scan my pages which was always a pain.  I know a lot of artists just don’t want to make the switch.  I truly don’t blame you, to each their own I guess!

So when I started drawing digitally I bounced around to a few different drawing softwares.  I quickly realized Manga Studio 4 could create full comic books as a single document and gravitated over to that.  I was a little less than enticed about the drawing process on there.  I was still using an  Wacom Intuos 3 at the time so that was a bit of a hinderance as well.  I hadn’t fully gotten used to drawing on a “lap tablet” as I like to call them.  Then I switched to Sketchbook Pro for the pencils and it started to feel more natural.  Once I finally upgraded to a Wacom Cintiq 22, I was like a kid in a candy store!  I finally had a really nice drawing experience going on.  I could pencil and ink all on this device and with the two programs I felt like I was really getting somewhere.

With each new update the programs have gotten better and better. ( For the most part. ) I still didn’t feel like I was creating to the level that I could achieve on paper though.  Keep in mind, there is a learning curve with any and everything, so part of it could have been that.  I truly believe you can create amazing art with anything if you put your mind and heart into it!

Almost two years ago I started hearing people talk about the new iPad Pro coming out.  I was a bit skeptical at first.  Maybe good for amateurs but I am a pro and I need a big fat Cintiq on my table.  ( By pro I mean a starving artist of course. lol )  Upon seeing other artists work on this device I was quickly sold.  I loved the fluid marks they were making.  I also thought the Apple Pencil looked more comfortable to work with.  Plus I really wanted to be portable with my art creation process.  After taking the leap of faith I was quickly at home using the device.  It was very intuitive and I was creating the style of art I like rather quickly.

The only issues I had was not being able to use all my favorite programs.  I felt a bit stuck.  I really enjoy the feel of the device but was missing some great apps to take advantage of it.  I even used Astropad for a short time to help bridge the gap but it didn’t fit well into my workflow.  I then started using Procreate more and more.  Within a few updates this app was really starting to appeal to me.  Plus, it records videos and I am such a Youtube junkie these days! 🙂

You can check out my channel here by the way – http://www.youtube.com/c/robertmarzullo

The Procreate app is extremely well designed.  It moves quickly and the interfaces is so streamline you will forget it is there.  The brush engine is nothing short of amazing and it has the most natural drawing experience I have found thus far.  The Venom art above was drawn in this app.  About 90 percent of my work is done there now.  I still jump over to my Cintiq when I need dual monitors and have to get some multi-tasking done but I quickly jump back over to my iPad Pro and Procreate combo to knock out some sketches or comic art.

So I just want everyone that reads this to know that the iPad Pro and Procreate is a VERY solid solution to creating professional art on the move.  Great battery life and stable as can be!  I am here if you have any questions I can help with and if you want to learn more about how I use these two together you can check out my Udemy course here – https://www.udemy.com/procreate-like-a-pro-create-awesome-digital-art-on-an-ipad/?couponCode=RAMCOMICSPOST101

Good luck with your art and thanks for your support! 🙂

Robert A. Marzullo

Ram Studios Comics


Procreate Like a Pro: Create Awesome Digital Art on an iPad – Udemy

Procreate Like a Pro: Create Awesome Digital Art on an iPad

Procreate Like a Pro: Create Awesome Digital Art on an iPad

In this course you will learn about the app in two fundamental ways. You will watch me explain the interface while demonstrating the hand gestures that are used to complete various tasks. You will learn how to import and export images, flip the canvas, share the  work in various formats, export video, setup the perspective tools, and adjust the interface to your preference.

Want to Learn How to Draw on an iPad?

In the next section I will take you through a complete illustration from start to finish. This will allow you to see and work through the process of creating the illustration and commit it to memory. You will learn about the brushes, layers, blending modes, lock transparency, selection tools, color adjustments, and general tips and tricks on painting various effects with texture.

By the end of this course you will have created a fun and informative art project. I would love to see what come up with and I would be happy to give you any feedback I can. Just share the work in the Q+A Section when you are done!

Get this course here  – https://www.udemy.com/procreate-like-a-pro-create-awesome-digital-art-on-an-ipad/?couponCode=RAMSTDIOSCOMICS101

Promo Video –

Robert A. Marzullo

Ram Studios Comics

Digital Painting in Manga Studio 5 – Character Design

Digital Painting in Manga Studio 5 – Character Design

In this Course you will learn How to Create a Fantasy Art Character from the rough sketch all the way to the finished paint work. We start with the drawing process and I explain how to make changes to the concept and not get too worried about everything being perfect in the beginning. There are lots of ways to edit the work and keep pressing forward within Manga Studio 5 / Clip Studio Paint.

We will then cover how to lay in the base paint work and use that to create and save our selections. You will learn how to use the layers to aid in your painting process, as well as how to work in a non-destructive approach.

Once the foundational information is in place we will begin to apply our digital painting effects with a variety of brushes. ( You will get access to all the brushes I use in this Course. )

You will also learn how to create and apply a texture effect for the chain mail on the characters armor. We will be using the “Distort” and “Mesh Transformation” features to accomplish this.

Through this course you will learn how to use : Layers and Groups, Combine Modes ( Blending Modes ), Custom Brushes, Hard and Soft Edge Shadows, Layer Masks, Quick Masks, Blending Brushes, Tonal Correction, Mirrored Windows, as well as General Drawing and Painting Techniques.

This course is 9 Hours and 17 Minutes total run time. 35 Individual Lessons.

You get the Layered Art Files and the Custom Brushes to work along with.

I am here if you have any questions or feedback for me to make this a better Course for everyone. So please feel free to let me know!

I hope you find this content to be extremely informative and good luck with your ART! 😉

Get Lifetime Access to the course through my Gumroad here –

https://gum.co/cpHjA

Sincerely,

Robert A. Marzullo

Ram Studios Comics